[Answered] How to Transfer Videos from Canon Vixia to PC?
You’ve just recorded some footage on your new Canon Vixia HF G20. And you want to transfer those exciting moments and memories to the computer in order to make the most of the videos. You might not know how to do that at first because Mac cannot extract videos from AVCHD files. Videos shot with Canon Vixia HF G20 are in AVCHD format, though. But don’t worry; you are in the right place now. This article will give the answer about how to transfer videos from Canon Camcorder to a computer.

Part1: Preparations
1. Connect the camcorder to the computer using the supplied USB cable.
2. Install a third-party Canon video converter tool. In this tutorial, we’ll take f2fsoft Canon video converter as an example.
f2fsoft AVCHD Video Converter
a. It’s a useful tool to directly convert camcorder videos to Mac players like iMovie or editing tools supported formats, such as MOV, MP4, AVI, etc.
b. It can help to convert camcorder videos to more than 150+ video or audio formats as you wish.
c. It also allows you to transfer converted AVCHD videos to iPad/ iPhone/ other mobile phones or tablets to enjoy them.
d. It has a built-in editor that provides functional editing features for you to customize the videos.
e. It’s compatible with Mac OS and Windows 10/8/7/XP/Vista.

Step 2. Import your camcorder video to this converter
To start with, you should import your camcorder videos into this program. Drag and drop/ click Add File at top left of the main interface to add one or several videos to the initial window.
Step 3. Select output format
After loading your camcorder video files, please check the format list on the dropdown list of Profile option, and then select a proper one as output format. Well, you are recommended to convert your camcorder videos to Mac compatible formats like M4V or MOV.

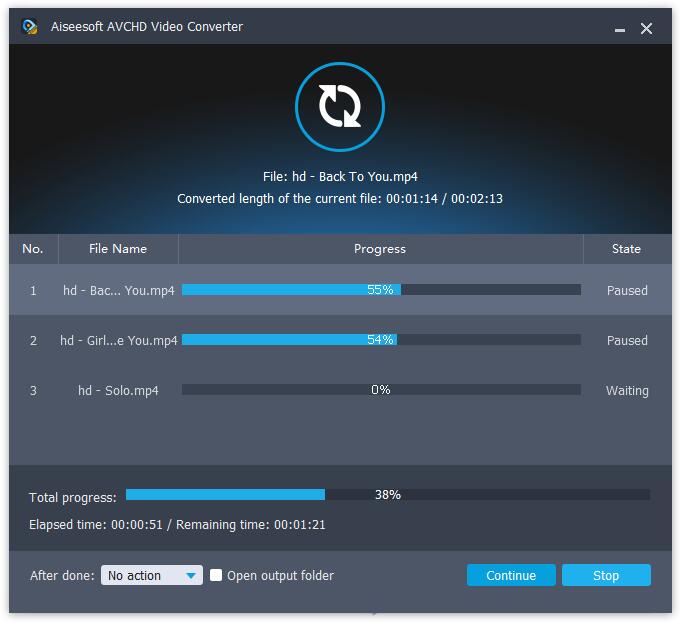
Step 4. Convert camcorder video
Click Convert button at bottom right if you have done all settings. The conversion will complete in minutes. Now you can freely play your camcorder videos on Mac or edit them using iMovie. By the way, f2fsfot AVCHD Video Converter is also equipped with a built-in video editor, which enables you to set the video parameters including encoder, resolution, frame rate, and video bitrate. Just have a try.
Tip: With Merge function, you can choose to Merge into one file to convert several files into one for convenience.
Conclusion: Following these steps, you could easily transfer any video files you want from your Canon video camcorder to your computer with no trouble whether you're planning to edit your footage, watch it on your PC, or burn it to a disk for later viewing.
Part3: Import converted video to iMovie for editing
If you want to edit your Canon videos in iMovie without any restriction while iMovie doesn’t know how to directly import video from AVCHD files form Sony Vixia HF G20, therefore, you can copy them to your Mac first (refer to Part2) and then easily view and edit your videos.
Step 1: Load source video
Open iMovie. Go to File> New Project, and type a name to the project. Then press Create to start a new project.
Step 2: Import Video to the Program
Click Import button, then iMovie will import your videos and play them. If you want to stop adding videos, click Import button again. To delete video clips, just drag and drop your added video clip(s) from the clips pane to the editable timeline along the bottom of the iMovie main interface.
Step 3: Edit Video on iMovie
1. Move to Edit menu, then click on the Split Video Clip at Playhead option.
2. Click Crop and drag the small triangles to the timeline to select the wanted portions.
3. Choose Effects tab in the menu at the bottom of the clips pane. In the editing area, choose a clip that you want to add effect.
Step 4: Save the project
In the main interface, click File and then select Save project option.
You May Also Like to Read:
- How to Convert MTS to MOV on Mac
- How to Convert AVCHD Video to MP4 on Windows
- [Solved] How to Convert AVCHD to AVI Video from Sony Camera?
- How to Convert MTS to MP4 with AVCHD Video Converter
- How to Convert M2TS to MKV with AVCHD Video Converter
- [Answered] Can PS4 Play MP4 File?-f2fsoft MP4 Video Converter
- How to Import Videos from Sony Handycam to Mac iMovie for Editing
- How to Convert AVCHD to MOV Fast and without Quality Loss