Create, Convert or Burn any DVD to Blu-ray Disc, folders and ISO Image files, and photos to Bluray slideshow easily on Windows and Mac.
What’s 4K?
According to Wikipedia, 4K resolution, also called 4K, refers to a horizontal screen display resolution in the order of 4,000 pixels. There are several different 4K resolutions in the fields of digital television and digital cinematography. In television and consumer media, 3840 × 2160 (4K UHD) is the dominant 4K standard. In the movie projection industry, 4096 × 2160 (DCI 4K) is the dominant 4K standard. The main advantage of recording video at the 4K standard is that fine spatial detail is resolved well. If the final video quality is reduced to 2K from a 4K recording, more details would have been achieved from a 2K recording.
In order to minimize quality loss of original 4K films, it is suggested to burn 4K films to Blu-ray disc for better watching experience and storage. Before burning the films to disc, you need to prepare a piece of 4K films to Blu-ray burner software, one blank and writable Blu-ray disc, one BD recorder drive because Blu-ray discs cannot be read by a normal computer. You’d better buy a Blu-ray disc with as much capacity as possible to be on the safe side.
How to burn 4K films to Blu-ray disc
Step1: Input 4K films
Download, install and run the media file converter-f2fsoft Blu-ray Creator on the computer. f2fsoft Blu-ray Creator is not only a DVD/Blu-ray Creator to burn AVCHD to BD, or VOB to DVD, but also a DVD/BD player program and a video creator, which supports to trim video length, add watermark, remove background noise, and convert 2D movie to 3D one.
Create, Convert or Burn any DVD to Blu-ray Disc, folders and ISO Image files, and photos to Bluray slideshow easily on Windows and Mac.
Click the Add Video button to download 4K films or files which will be burned to disc. To ensure the smooth running of the burning work, you could preview the films by clicking the Play button. In the preview process, you can have a snapshot when encountering a nice picture. The snapshots can be directly found in the file next to the snapshot button. You could freely decide the location of the snapshot file through changing wheel sections.


Step2: Edit 4K films and make a disc cover
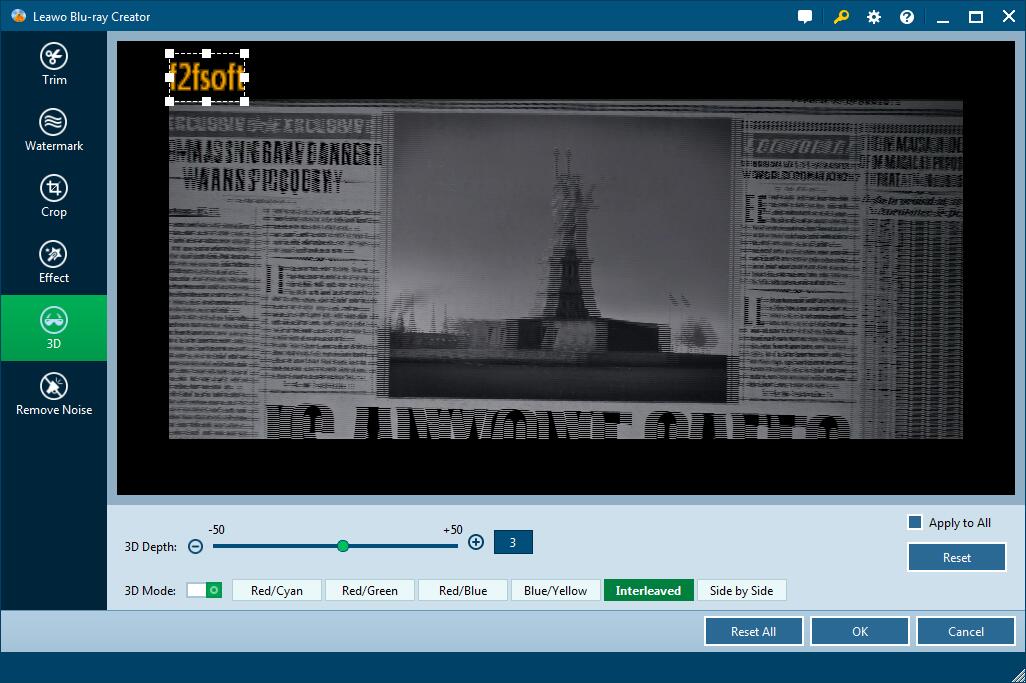
This step is optional; please skip to Step3 provide that you don’t have demands on disc cover and film creation. Press the pencil icon turning to Edit panel. Six functional buttons from left sidebar are provided to trim video length, add watermark, crop screen size, adjust picture effects, convert 2D videos to 3D ones, and remove background noise. It doesn’t support to edit multiple videos at one time and thus films can only be edited one by one, but you could apply the sections to all films. And then click OK button.

Back to the main page; select one template as disc cover from the right side bar. If you don’t want disc menu, just click “NO Menu” button. Maybe you could try to make one disc cover with your style? Click the eye icon in the center to have a preview of edited films and then hit the pencil icon behind to add background music and image for the disc cover. You could add videos to create a dynamic image. Save it to Custom penal for future use.

Step3: Burn 4K films to Blu-ray disc
1. Insert the Blu-ray disc to the BD recorder drive and connect the drive to the computer through USB cable.
2. Select disc type, bit rate and aspect ratio according to the disc you have inserted into the computer.
3. Press the big green Burn button for disc label. You could simultaneously burn 4K films to ISO Image file, which may occupy much hard drive space of the computer.
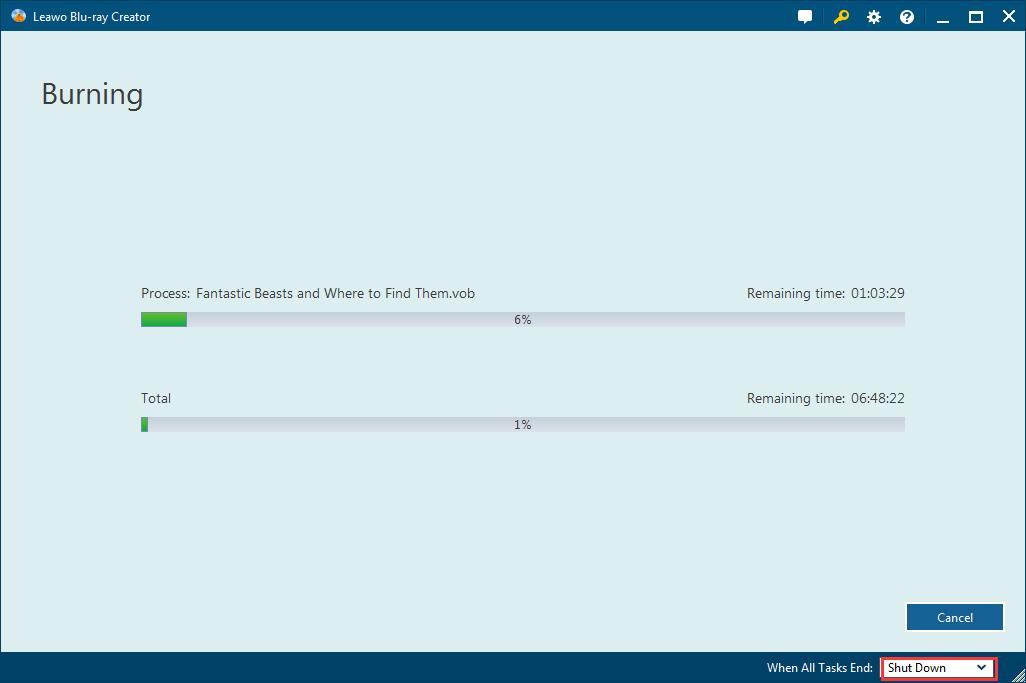
4. Finally, click the flame icon to start burning to Blu-ray disc. The burning work takes some time, you could set to shut down when all tasks end.


Create, Convert or Burn any DVD to Blu-ray Disc, folders and ISO Image files, and photos to Bluray slideshow easily on Windows and Mac.
You May Also Like to Read:
- How to Do MKV File to DVD Creation on Windows
- How to Do FLV to Blu Ray Disc Creation with Blu Ray Creator
- How to Completely Create DVD to Blu ray Disc on Windows
- How to Create Any DVD to Blu ray Disc on Mac
- How to Burn Video to DVD on Windows
- The Best Way to Burn MP4 to DVD
- Best Windows DVD Maker- How to Make a DVD on Windows
