Create, Convert or Burn any DVD to Blu-ray Disc, folders and ISO Image files, and photos to Bluray slideshow easily on Windows and Mac.
First come together to find out what is the FLV file. FLV is the abbreviation of Flash Video, and FLV streaming format is a video format developed with the introduction of Flash MX. Due to its extremely small files and extremely fast loading speed, FLV format makes it possible to watch video files online because of its small size and fast loading speed. Normally, the size of one 60 seconds long clear FLV video is about 1MB, which is 1/3 of the volume of a normal video file. The appearance of FLV effectively solved the problem that after being imported into Flash, video files cannot be smoothly watched on the internet because of the large capacity of the exported SWF file. Currently, FLV is used by most video sharing websites.
what preparation you need to do to burn FLV file to the DVD disc?
1. One blank and writable DVD disc
2. One DVD disc recorder drive (if your computer doesn’t support to read DVD disc)
3. Download one piece of DVD burning software-f2fsoft Blu-ray Creator
Create, Convert or Burn any DVD to Blu-ray Disc, folders and ISO Image files, and photos to Bluray slideshow easily on Windows and Mac.
f2fsoft Blu-ray Creator is a DVD convert and burning program that support to burn most widely used formats like M2TS, MOV, VOB, AVI, MKV, MP4, FLV etc. to DVD/BD/ISO Image file. It is one video creator that support you make videos from pictures with user-defined background music and image. It is also a video editor with which you cloud trim, crop frame size, add text/image watermark, apply 3D effect and remove background noise. What’s more, you can design your own disc cover.
Step1: Import FLV file/video
1. Open the FLV to DVD converter you have downloaded on the computer. Press the Add Video button to import the FLV file. Or directly drag it into this program.
2. Insert the blank disc into the disc recorder drive. Select the DVD type, bit rate and aspect ratio. Make sure the type you choose is consistent with the disc you have inserted.
3. In the lower left corner is a play button, by clicking which you could preview the video. It is convenient to snapshot by hitting the camera icon and then you could find them in the file next to the snapshot button.

Step2: Edit video
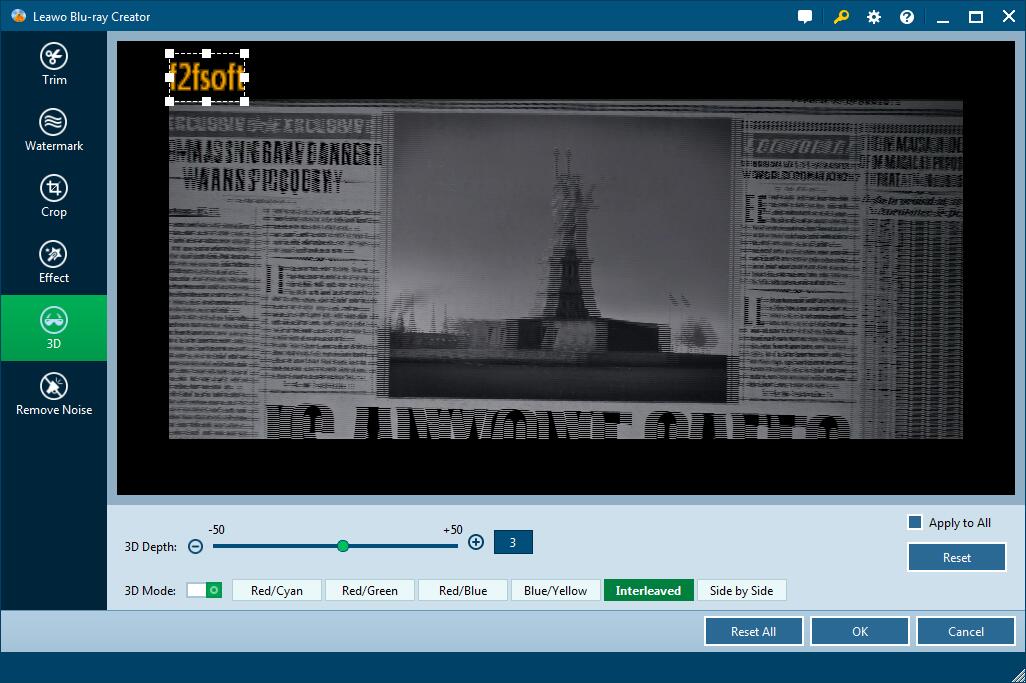
See the pencil icon? Click it to edit the video. There six functional buttons listed on the left sidebar. You could trim the video length by adjust Start Time and End Time, add text/image watermark, freely crop the frame size, adjust brightness, contrast, saturation and volume zoom, apply 3D effect (red/cyan, red/green, red/blue, red/yellow, interleaved, and side by side), and remove noise. One point is that you are unable to simultaneously edit multi videos, but you could apply the sections to all videos.

Step3: Set a disc menu
Select one template as disc menu from the right sidebar. You could download the templates online or make one by yourself. Tick one template and can you see an eye icon in the center of it? Click it for an instant preview and then press the pencil icon behind to create a disc menu. You could add background music and picture or video as the background image. Then save it for future use.

Step4: Burn FLV file to DVD disc
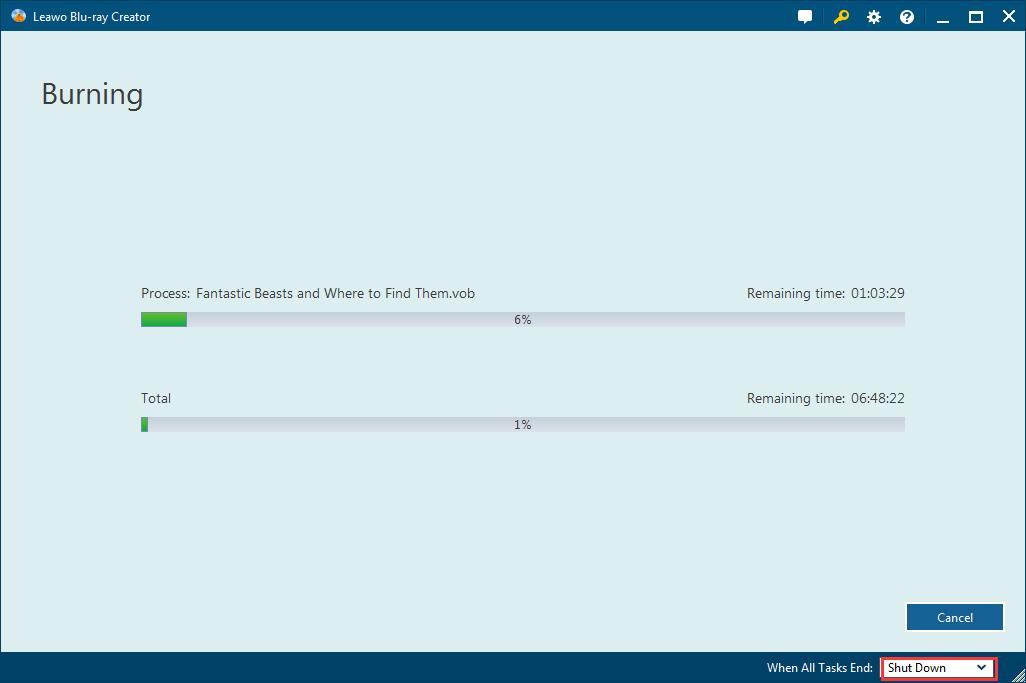
Here comes the last step to burn FLV file to DVD. Click on the wheel button in the upper right corner where there are more settings for this program. Select Burn button to choose default video mode: NTSC and PAL. Make sure you select the right one, or you couldn’t play it on DVD player. Then hit the big Burn panel to finish disc label. Finally, click the flame icon to start burning the edited video to disc.


Create, Convert or Burn any DVD to Blu-ray Disc, folders and ISO Image files, and photos to Bluray slideshow easily on Windows and Mac.
You May Also Like to Read:
