Create, Convert or Burn any DVD to Blu-ray Disc, folders and ISO Image files, and photos to Bluray slideshow easily on Windows and Mac.

An RMVBfile is a Real Media video file compressed using a variable bit rate, which is optimized for the content of the video. It is a newer variation of the standard Real Media (.RM) file format that allows for more efficient compression. RMVB files have become a popular format for Anime and Asian movie because they have smaller file sizes and lower bitrates with better quality.
If you have many RMVB files on your computer, you could burn them to DVD/Blu-ray disc for hard drive space release or better playback. The article as the following will show you how to burn RMVB to DVD disc; the burning work requires the assistance of RMVB to DVD maker-f2fsoft Blu-ray Creator.
Note:
To ensure the smooth running of this burning work, please prepare the things below.
1. Download and install RMVB to DVD maker-f2fsoft Blu-ray Creator on your computer.
2. One blank and writable DVD disc.
3. Disc recorder drive.
Create, Convert or Burn any DVD to Blu-ray Disc, folders and ISO Image files, and photos to Bluray slideshow easily on Windows and Mac.
Step1: Download original RMVB file
Run this RMVB to DVD maker on your computer. You will see four panels displayed on the interface:Add Video, Add Photo, Template, and Burn which will turn green after you import the videos or files. Simply click the Add Video panel to download the RMVB files you wish to burn to DVD disc. Or you could directly drag/drop the files into the main page of this program. The built-in player of this program helps you to preview the videos and ensure they are the right ones you want to burn.

Step2: Edit output video (optional)
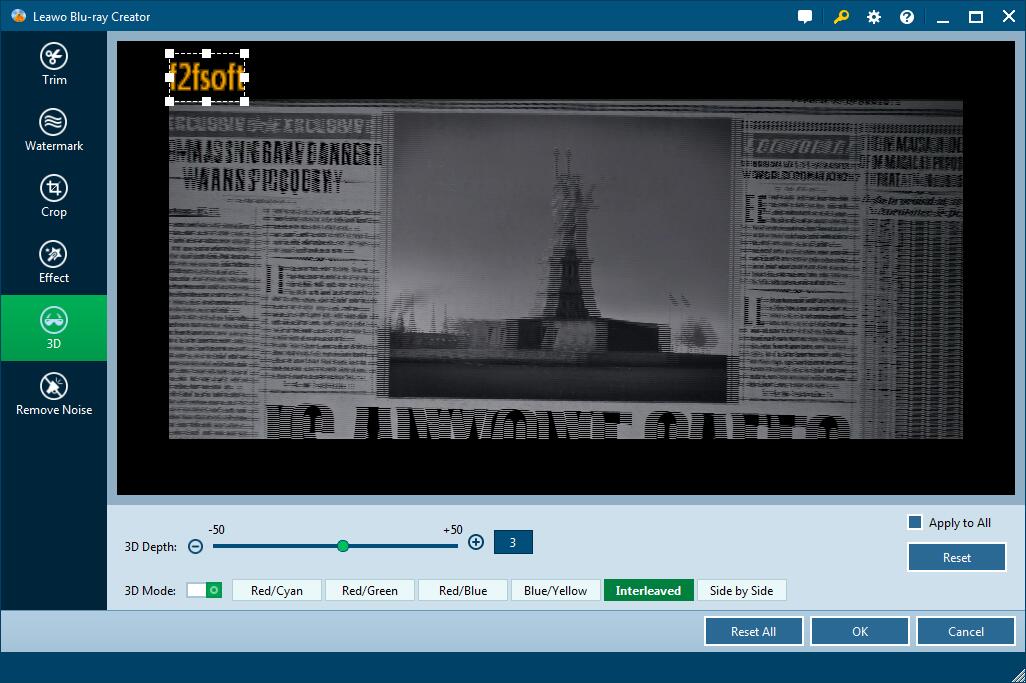
This step is optional. It means you can do some changes on the videos with the built-in editor; if you don’t have this demand, just skip it. Pitch on the video and right-click to choose Edit option, or directly press the pencil icon at the end of the video list. Six function buttons are provided for you to choose from the left sidebar. You could add watermark for protecting copyright, crop the frame size, apply 3D effect to convert 2D videos to 3D ones, remove background noises if you need and adjust the picture brightness and contrast. One point is that you can’t edit multi videos at the same time. But you can apply the sections to all videos.

Step3: Customize a disc menu (Optional)
This step is optional as well; if you don’t have more demands on disc menu, skip to Step4 directly. There three options for you to choose from: select one from included templates; download one online; customize one according to your preference.
1. Select one template from the right sidebar and press the eye icon in the center.
2. Click the pencil icon behind the eye icon to add background music and image.

3. Save the disc menu for future use. The edited menu can be found in Custom panel.
Step4: Burn RMVB to DVD disc
1. Insert a bank and writable DVD disc to the recorder drive on the computer.
2. Select the DVD type, bit rate (fit to disc) and aspect ratio at the bottom of the page. Make sure it is consistent with the one you have inserted.
3. Click the wheel icon on the upper right corner for section of default video mode. Make sure the PAL or NTSC TV Standard is consistent with your country, preventing playback incompatibility.

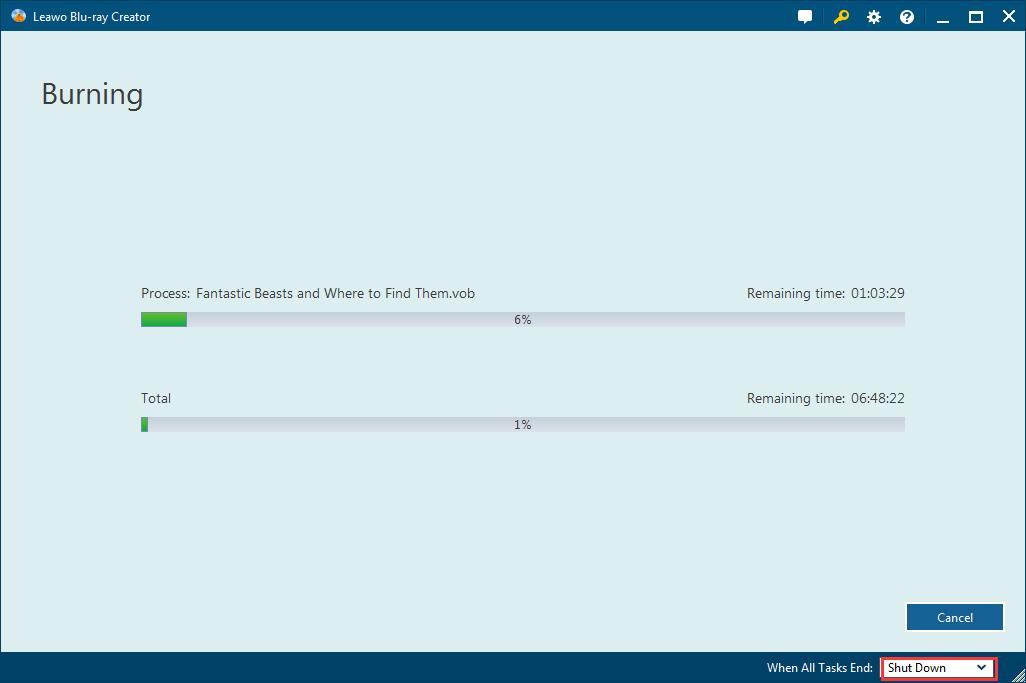
4. Here comes the last step. See the big green Burn button? Hit it to finish burning sections. If you are expected to make an ISO Image file as well, please check whether your computer hard drive has enough storage. Then click the flame icon to start burning RMVB to DVD disc or ISO Image file.
Then you can watch the movies/videos on DVD player. f2fsoft supports to burn all video formats to DVD/Blu-ray and/or ISO Image file. For instance, burn M2TS to DVD, burn FLV to Blu-ray disc or create ISO from DVD.


Create, Convert or Burn any DVD to Blu-ray Disc, folders and ISO Image files, and photos to Bluray slideshow easily on Windows and Mac.
You May Also Like to Read:
- How to Do MKV File to DVD Creation on Windows
- How to Do FLV to Blu Ray Disc Creation with Blu Ray Creator
- How to Completely Create DVD to Blu ray Disc on Windows
- How to Create Any DVD to Blu ray Disc on Mac
- How to Burn Video to DVD on Windows
- The Best Way to Burn MP4 to DVD
- Best Windows DVD Maker- How to Make a DVD on Windows
