Create, Convert or Burn any DVD to Blu-ray Disc, folders and ISO Image files, and photos to Bluray slideshow easily on Windows and Mac.

The development of science and technology has brought many conveniences to people's lives. For example, in old times when technology was not so advanced, people used letters or things with special meanings to place their thoughts and memories on their loved ones. But now, you can record their lives through cameras, mobile phones, cameras, etc. One day, they are not on your side, you still have those videos, photos for emotional sustenance.
In addition to mobile phones, home video cameras are good choice for recording life. The memory capacity of the camera's memory card is limited, and most people will copy the AVCHD videos to the computer for storage. In fact, it is better to save them on DVD or BD discs, preventing the computer from crashing one day and then these videos face the risk of loss. So what are the steps to burn AVCHD to DVD discs? What do you need to prepare for?
Part1: Some information you need to know
AVCHD format is a high definition format which belongs to the data format and can only be burned into data discs. Therefore, AVCHD can merely be played on computers, HD players, or Blu-ray players and cannot be played on a DVD player, after it has been burned to data DVD disc. The disc that can be played on the DVD player is called a DVD-video disc. The highest resolution it supports is 720*576, which means DVD-video disc can’t storage AVCHD videos. Besides, the capacity of DVDs on the market is not particularly large, so if the AVCHD video is long, you need to think about burning AVCHD to Blu-ray disc whose maximum capacity is up to 50G.
Part2: Burn AVCHD to DVD by Windows Media Player
Except playing videos and audios, Windows Media Player supports to burn the music, pictures and videos on the computer to blank CDs or data DVDs.
Step1: Run Windows Media Player and press Burn tab.

Step2: Find the AVCHD videos from library and drop them to the Burn panel on the right. Other files like music files and image files can also be added for burning to data DVD disc.
Step3: Insert a blank data DVD disc into disc recorder drive. Then click the drop-down button and select Data CD or DVD. At last, click the Start Burn button to start burning the AVCHD videos to DVD disc.


Part3: Burn AVCHD video to DVD by f2fsoft Blu-ray Creator
Here is a short introduction of f2fsoft Blu-ray Creator.
f2fsoft Blu-ray Creator, free DVD burning software, support to convert, edit and burn videos, photos or video/photo files to BD/DVD and/or ISO Image files. For example, to burn iMovie to DVD, burn VOB to Blu-ray or burn photo slideshow to DVD. You can add watermark for copyright protection and convert 2D video to 3D one with built-in video editor. Besides, you can customize an amazing disc menu with background music and image.
Notes:
1. Download and run f2fsoft Blu-ray Creator on your computer.Create, Convert or Burn any DVD to Blu-ray Disc, folders and ISO Image files, and photos to Bluray slideshow easily on Windows and Mac.
2. Prepare a blank and writable Data DVD disc and one DVD disc recorder drive. Insert the disc into the driver.
Detailed steps:
Step1: Download AVCHD video
Simply press the Add Video button to import the AVCHD video/file. Or you could directly drag it into this AVCHD to DVD converter. Complete options of DVD type (DVD-9/DVD-5), bit rate, and aspect ratio can be found at the bottom of this page. Please make sure the disc type is consistent with the one you have inserted into the driver.

Step2: Edit output video (optional)
Pitch on the AVCHD video and then right-click to select Edit option.
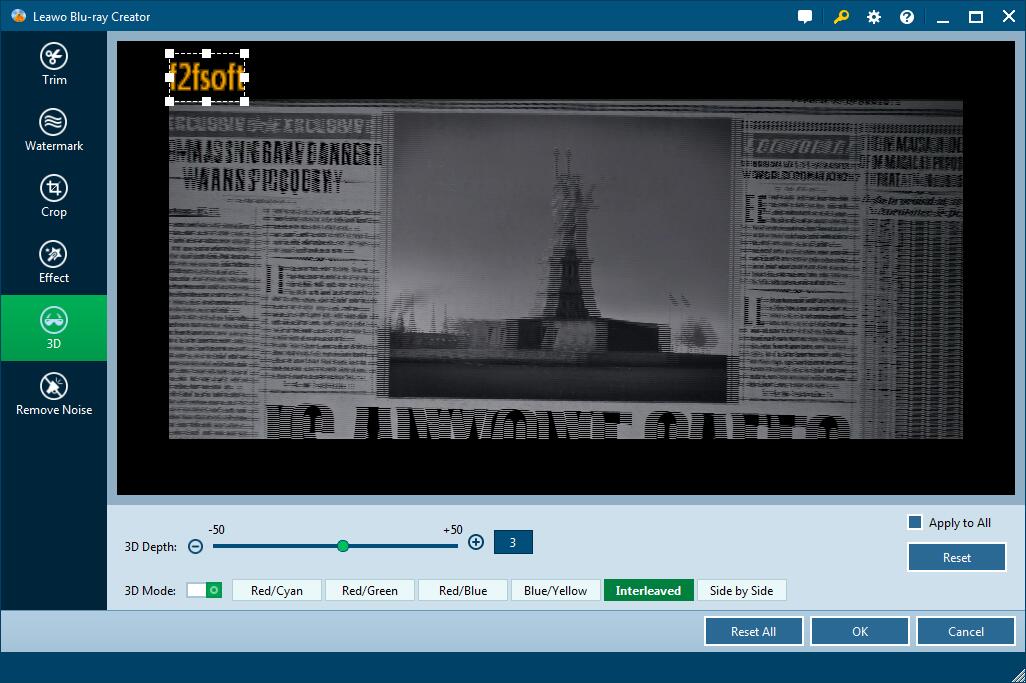
There six functional buttons on the left sidebar for you to trim video length, crop frame size, apply 3D effect or add text/image watermark. You are unable to edit multiple videos at once, but you could apply the edit sections to all videos.

Step3: Create a disc menu (optional)
Select one template as disc menu from the right sidebar, or you can customize one by yourself. Tick one template and click the eye button in middle for instant preview. Click the pencil icon to add the background music and image. Save it as for future use.

Step4: Burn AVCHD video to DVD disc
1. Click the wheel icon on top right corner to choose default video mode (NTSC/PAL) from Burn option and then click OK button. Be careful not to choose the wrong one.

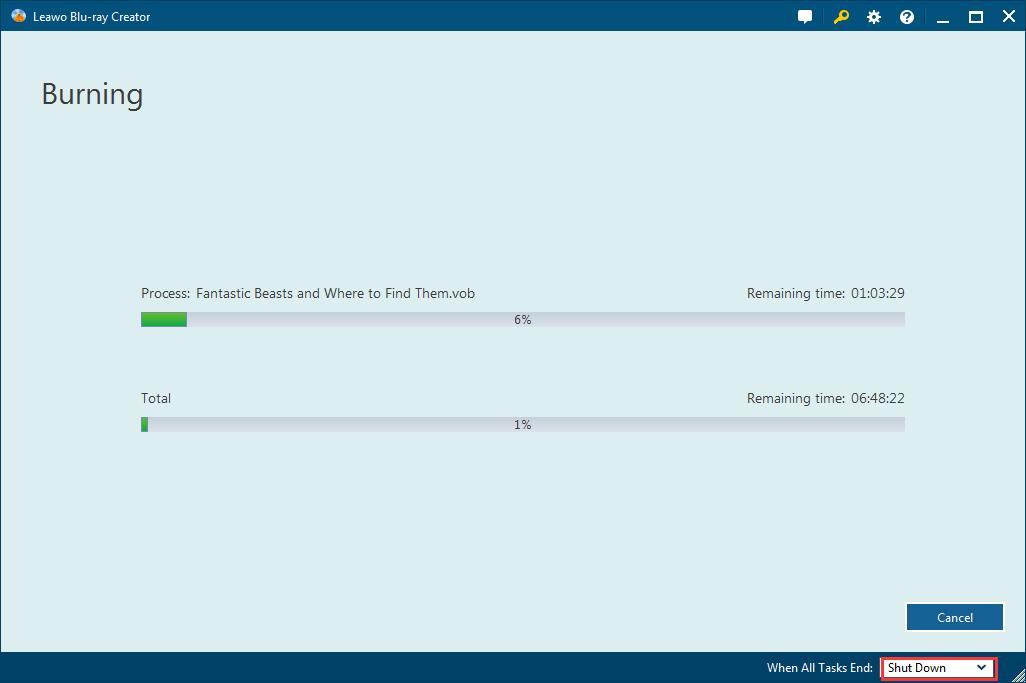
2. Hit the big green Burn button to decide the disc label and the location saving the output movie file. You can also burn the AVCHD to folder or ISO Image file in the same, but please make sure the capacity of the hard disk of the computer is enough. Finally, press the flame icon start burning the movie to DVD disc.


Create, Convert or Burn any DVD to Blu-ray Disc, folders and ISO Image files, and photos to Bluray slideshow easily on Windows and Mac.
You May Also Like to Read:
- How to Do MKV File to DVD Creation on Windows
- How to Do FLV to Blu Ray Disc Creation with Blu Ray Creator
- How to Completely Create DVD to Blu ray Disc on Windows
- How to Create Any DVD to Blu ray Disc on Mac
- How to Burn Video to DVD on Windows
- The Best Way to Burn MP4 to DVD
- Best Windows DVD Maker- How to Make a DVD on Windows
