Transfer data (contacts, videos, pictures, text messages and so on) for iPhone users.
“Is there anyone who can help me? Last night, I reinstalled my operating system of a computer. The problem is: my music, playlists and videos were gone in iTunes and wore, it even tried to format my device!”
Or
“I have songs on my iPod that were downloaded from a library on my friend’s PC with my friend’s iTunes account. My laptop is authorized to play the songs on the iPod that were purchased by the other account.
I want to move all the songs from my iPod to my iTunes library on Laptop so I can see everything I have in one place. But, I can't figure out how to do it. Does anyone know how to transfer music from iPod to iTunes?”
As iPhone user, do you have been troubled in the same situations? It took years to build up a beautiful iTunes music library, but it crashed in a moment?
Are you eager to get it back?
If the answer is yes, do you find the way to solve it?
If the answer is no, please keep reading.
Today, I will show you a safe and reliable way to transfer music from iPod to iTunes without data loss.
Transfer data (contacts, videos, pictures, text messages and so on) for iPhone users.
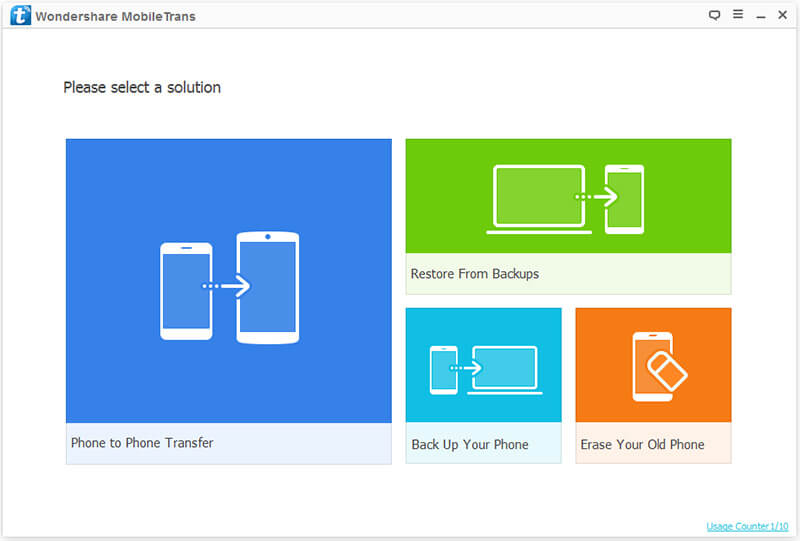
Step 2: Select Back Up Your Phone part and connect iPod to computer with USB. Wait a second, f2fsoft iDevice Music Transfer Software will detect your iPod.
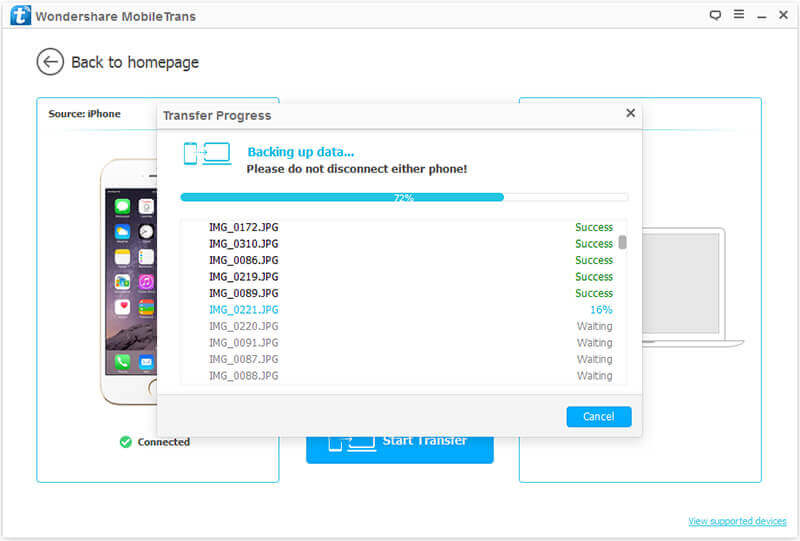
Step 3: Then a list of your iPod data will be shown in the window. Click Music and Start Transfer button.
Only three steps, you can safely transfer your iPod music to iTunes, including purchased songs from iTunes App Store and non-purchased from CD collection. No data rewritten, no virous.
What's more, f2fsoft iOS Data Transfer can transfer videos, contacts, text messages, pictures and so on as the same way.

Part2: How to Move Music from iPod to Computer with iTunes?
Before we begin our task, we need to know somethings and avoid them wisely.
Note: As a green hand, when we choose iTunes sync, the data is permanently losing for unknown reasons. Especially, when we connect an iPod full of music to an empty iTunes library. Why and how to solve this problem.
iTunes will erase previous data of iTunes library, only automatically keep the data at the latest time.
1. In order to prevent auto-sync between iDevice, we should run iTunes on our computer, and choose Device> Disable Automatic Syncing for iPhones and iPods. Next, connect your iPod to computer with USB.
Or, you firstly hold Ctrl+Shift on keyborad, and then connect iPod to computer with USB, relese Ctrl+Shift until your iPod device appears in iTunes interface.
2. If you see a message ask you to link a new different library, click Cancel.
3. Be careful with Erase and Sync option.
4. If your iPod doesn't appear as it shoud be, you can click device icon.
Now, let's talk about moving music from iPod to a computer with iTunes.
Step 1: Open iTunes on PC.
Step 2: Edit > Preferences > Devices, and click Prevent iPods, iPhones and iPads from syncing automatically.

Step 3: Connect iPod to your computer with USB cable. iTunes will recognize your iPod.
Step 4: Click File > Devices > Transfer Purchases at the upper left corner.
Note: this way may couse you lost non-purchased items during the process. Be careful.
Step 5: Click the Music tab, and then check square beside the songs to select the non-purchased songs you want to transfer, or you can transfer the whole music library from iPod to iTunes by checking the square beside Name. Then you can right-click the selected files and choose Export to > Export to iTunes.
Part3: How to Copy Music from iPod to iTunes with USB
Step 1: Connect your iPod to computer with iPod USB cable. Click Tools > Folder Options> View> Display hidden files and folders.

Step 2: Now, you will find a folder called iPod_Control. Copy and past it on your computer

Step 3: Run the latest version of iTunes on your computer.
Step 4: Now click on File> Add files to Library option on your library. Find the copied music files and import it into iTunes.

Transfer data (contacts, videos, pictures, text messages and so on) for iPhone users.

